Is your home experiencing pesky leaks or drafts? Re-sealing and caulking can be your best allies in preventing unwanted water infiltration and maintaining a comfortable indoor environment. In this comprehensive guide, we’ll take you through the ins and outs of re-sealing and caulking, providing you with the knowledge and tools to tackle this DIY project like a pro.
Re-Sealing and Caulking
Table of Contents
- Introduction to Re-Sealing and Caulking
- Understanding the Importance of Re-Sealing
- Identifying Problem Areas
- Choosing the Right Caulk
- Types of Caulk
- Considerations for Selection
- Essential Tools and Safety Precautions
- Step-by-Step Re-Sealing Process
- Preparing the Area
- Removing Old Caulk
- Cleaning and Drying
- Applying New Caulk
- Finishing Touches and Maintenance
- Benefits of Proper Re-Sealing
- Frequently Asked Questions (FAQs)
- Conclusion
Introduction to Re-Sealing and Caulking
Re-sealing and caulking are fundamental techniques that help maintain the integrity of your home’s surfaces and keep unwanted elements at bay. Whether it’s sealing gaps around windows, doors, or in the bathroom, a proper caulking job can significantly enhance the comfort, energy efficiency, and aesthetics of your living space.
Understanding the Importance of Re-Sealing
Over time, the caulk used to seal gaps and joints in your home can deteriorate due to exposure to moisture, temperature fluctuations, and general wear and tear. When caulk becomes brittle or develops cracks, it loses its effectiveness in preventing leaks and drafts. Re-sealing these areas is essential to ensure that your home remains well-insulated and protected from the elements.
Identifying Problem Areas
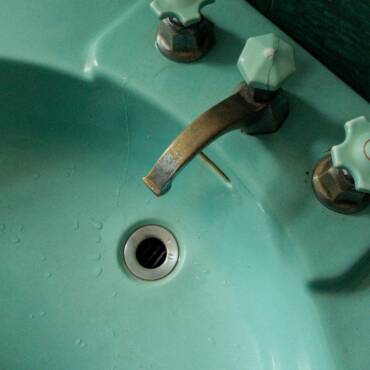
Before diving into the re-sealing process, it’s crucial to identify problem areas that require attention. Check for gaps, cracks, or areas where the caulk has visibly deteriorated. Common trouble spots include the edges of windows and doors, along baseboards, around sinks, and in the bathroom or kitchen.
Choosing the Right Caulk
Types of Caulk
There are various types of caulk available, each designed for specific applications. Some common types include silicone caulk (for flexibility and water resistance), acrylic caulk (for easy application and paintability), and polyurethane caulk (for durability and outdoor use). Consider the location and purpose of the caulk when selecting the appropriate type.
Considerations for Selection
Factors such as the material you’re sealing, the presence of moisture, and the potential for movement should influence your choice of caulk. Additionally, opt for a caulk that matches the colour of the surface or paint for a seamless finish.
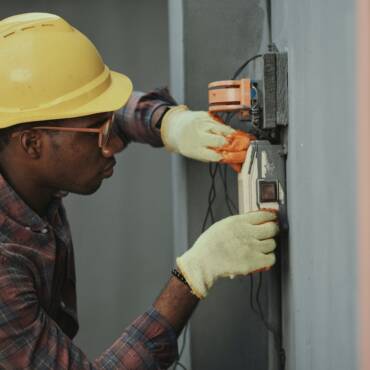
Essential Tools and Safety Precautions
Before you start re-sealing, gather essential tools such as a caulk gun, utility knife, scraper, and masking tape. Ensure you’re working in a well-ventilated area, and wear safety goggles and gloves to protect yourself from caulk and debris.
Step-by-Step Re-Sealing Process
Preparing the Area
Clear the area of any debris, dirt, or old caulk. Use a scraper to remove the old caulk carefully, ensuring not to damage the surrounding surfaces.
Removing Old Caulk
Use a utility knife to carefully cut away the old caulk, taking care not to scratch or damage the adjacent surfaces. A plastic putty knife can also help in gently prying off stubborn caulk.
Cleaning and Drying
Thoroughly clean the area with a mild detergent and water to remove any residue. Allow the area to dry completely before proceeding.
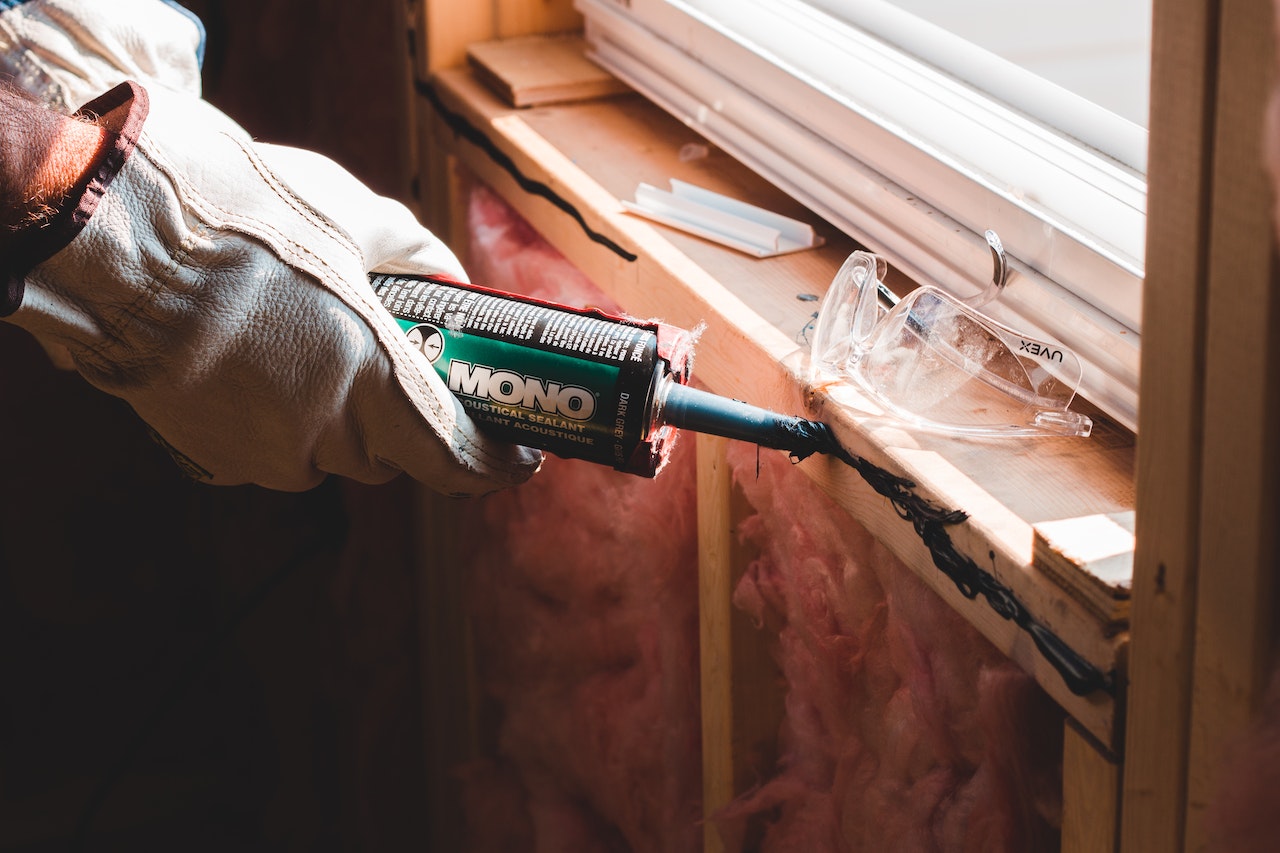
Applying New Caulk
Load the chosen caulk into a caulk gun and cut the nozzle at a 45-degree angle. Apply a smooth and even bead of caulk along the gap or joint, ensuring full coverage. You can use masking tape to create clean edges and facilitate a neat finish.
Finishing Touches and Maintenance
Once the caulk is applied, use a damp cloth or your finger to smooth and shape the bead for a professional look. Remove the masking tape before the caulk dries. Allow the caulk to cure according to the manufacturer’s instructions.
Benefits of Proper Re-Sealing
Proper re-sealing and caulking offer a range of benefits, including improved energy efficiency, enhanced indoor comfort, prevention of water damage, and a more polished appearance. By maintaining a watertight seal, you can also safeguard your home’s structural integrity and reduce the risk of mould growth.
Frequently Asked Questions (FAQs)
- Q: How often should I re-seal areas in my home? A: It’s recommended to inspect and re-seal areas every 1-2 years, or as soon as you notice deterioration.
- Q: Can I paint over caulk? A: Yes, many types of caulk are paintable. Ensure you choose paintable caulk and follow proper priming and painting procedures.
- Q: Can I re-seal exterior areas as well? A: Absolutely. Outdoor areas like windows, doors, and siding can benefit from re-sealing to prevent water infiltration.
Conclusion
Re-sealing and caulking are simple yet effective solutions to maintain the integrity of your home and create a more comfortable living environment. By following the step-by-step guide provided in this article, you can confidently tackle re-sealing projects and enjoy the benefits of a leak-free, well-insulated home. Regular maintenance and attention to detail will ensure your home remains protected for years to come.